
No torch. No hot work. No specialist crew.
Self-adhered butyl: peel the release film, press and bond. Standard roofing crews install ACC over the existing roof with ordinary hand tools.
Five steps to a restored roof
A summary for planning purposes. Installers must follow the current ACC installation guide, including primer cure times and detailing procedures.
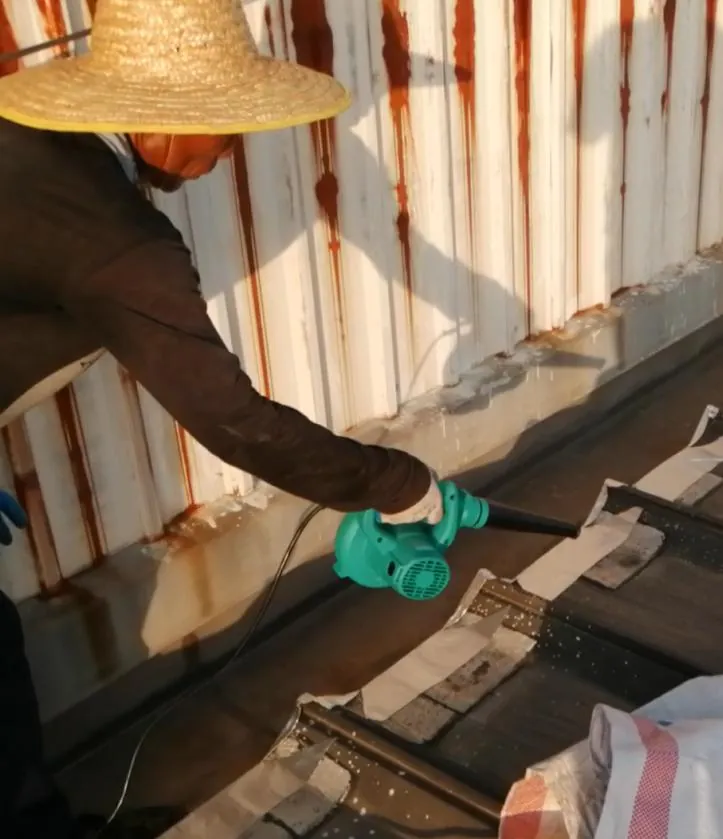
Inspect & prepare
Check panels, fasteners and gutters. Secure loose areas and remove rust, debris and loose coatings.
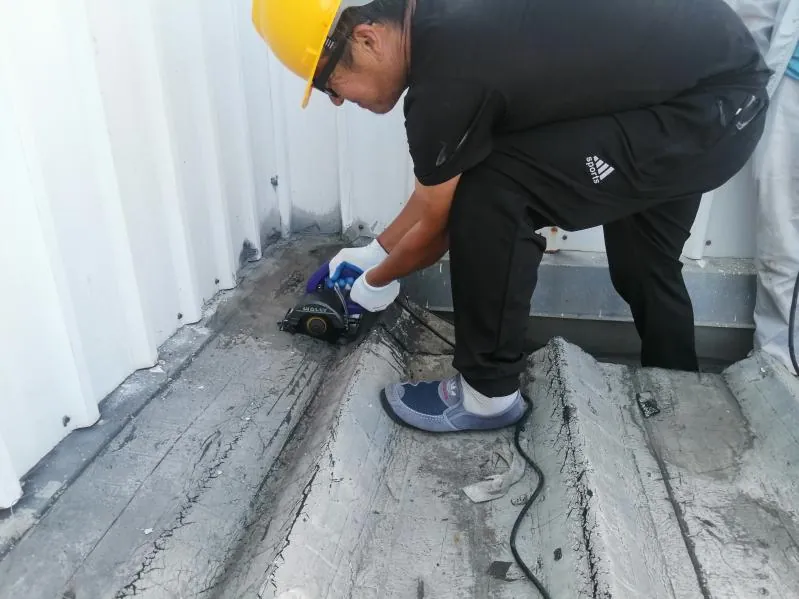
Clean & prime
Clean the surface, apply ACC Multi-Surface Primer and allow it to cure. Seal cracks, holes and rivets with ACC tape.
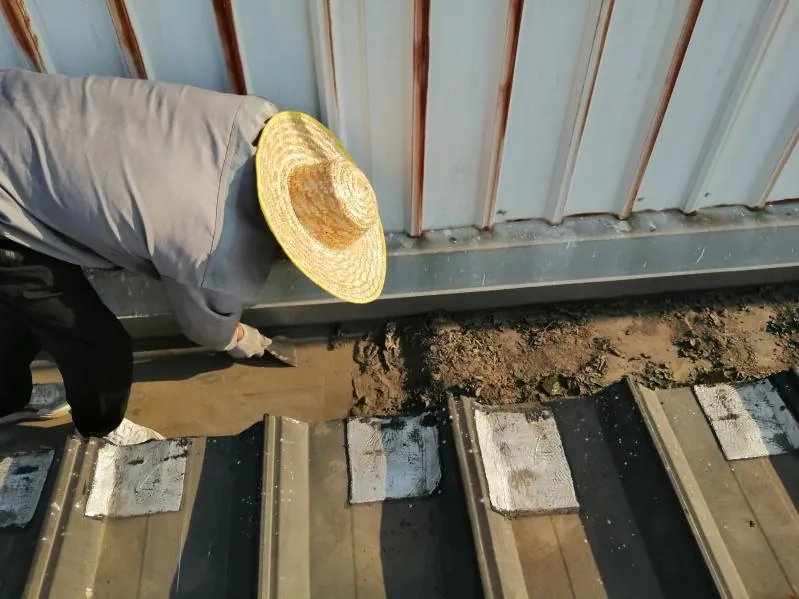
Detail the nodes
Treat gutters, ridges, skylights, parapets and penetrations first.
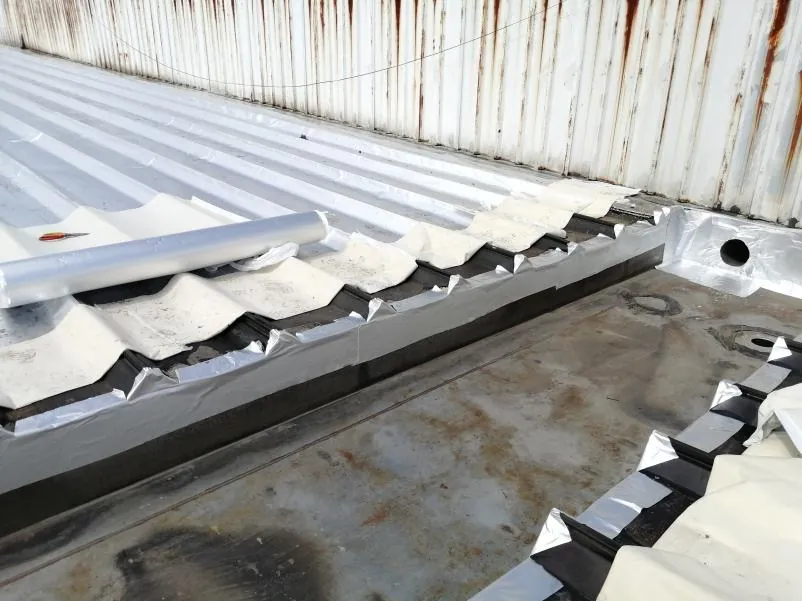
Lay the field membrane
Apply from eave to ridge in the direction of water flow, with minimum 3″ side laps and 4″ end laps.
Seal & inspect
Roll firmly for full adhesion, edge-seal with weatherproof sealant, check every lap and patch any wrinkles or air pockets.
Installation videos
Application footage from manufacturer installations.


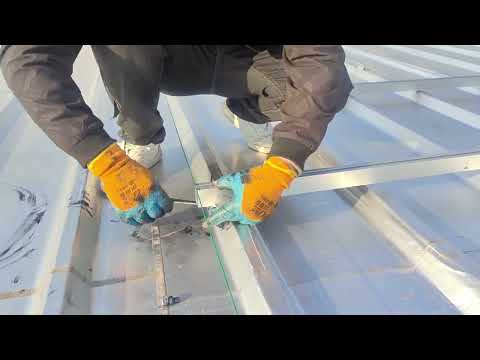
Fast, safe, productive.
- No torches, kettles or open flame — no hot-work permit
- No specialist certification or equipment
- No tear-off, no disposal, minimal disruption to the building
- Install the whole roof or target the leaks and corrosion
- Easy to inspect: what’s on the roof is a uniform factory-made sheet
Training & job support
TerraShield provides installation training, technical literature and on-call support for your first projects. We can also help you plan a demonstration section for a client.
Become an installerPeel it. Press it. Try it yourself.
Ask for a free sample and see how ACC handles on your substrate.